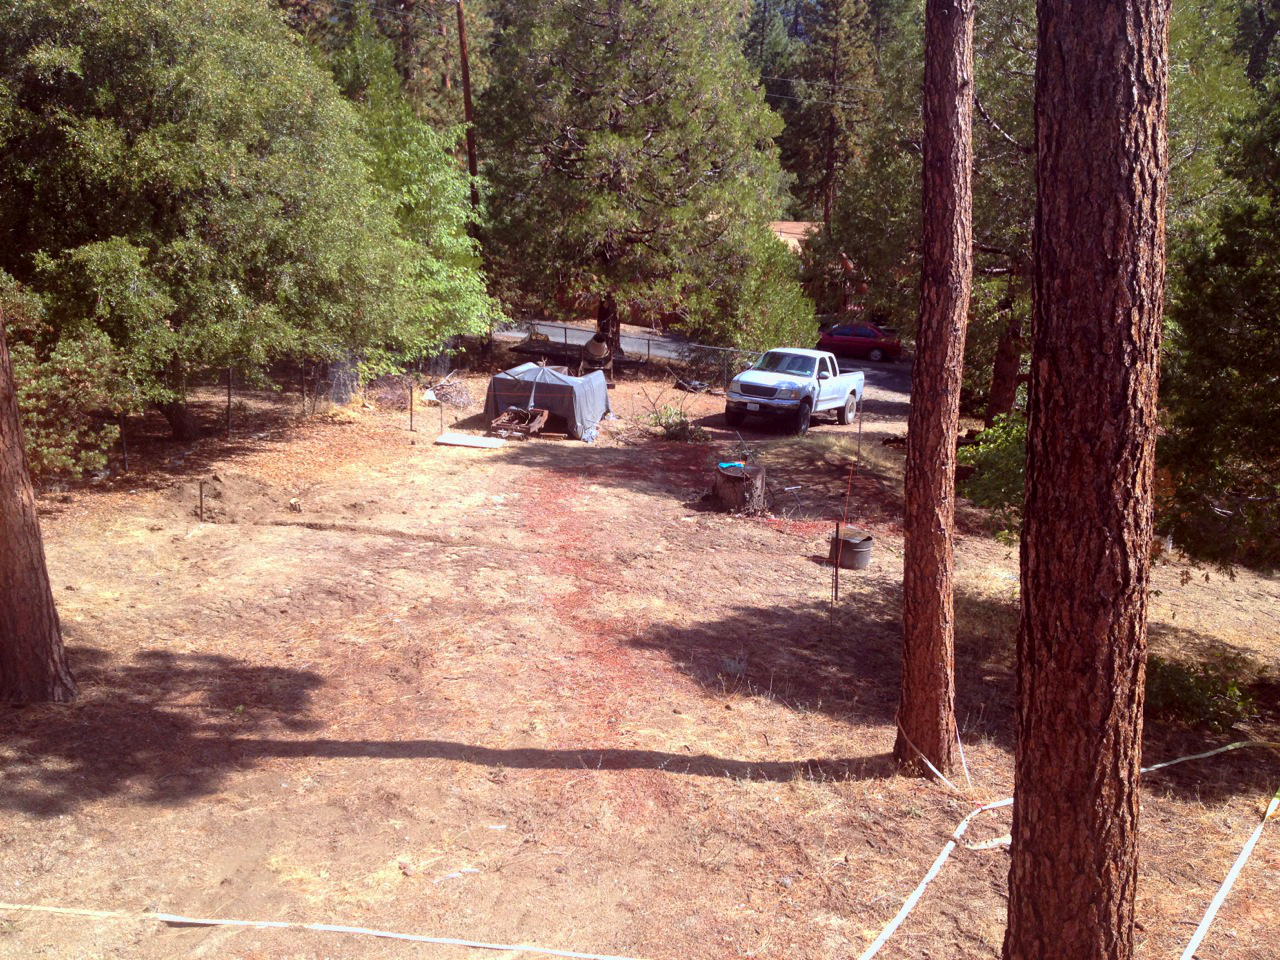
We built the yurt in September and October 2014 over a period of about six weeks, a truly incredible thing looking back on it. The location was on the parcel of vacant land that we bought about a year after moving in to the house. Here’s a look at the land before we started work:
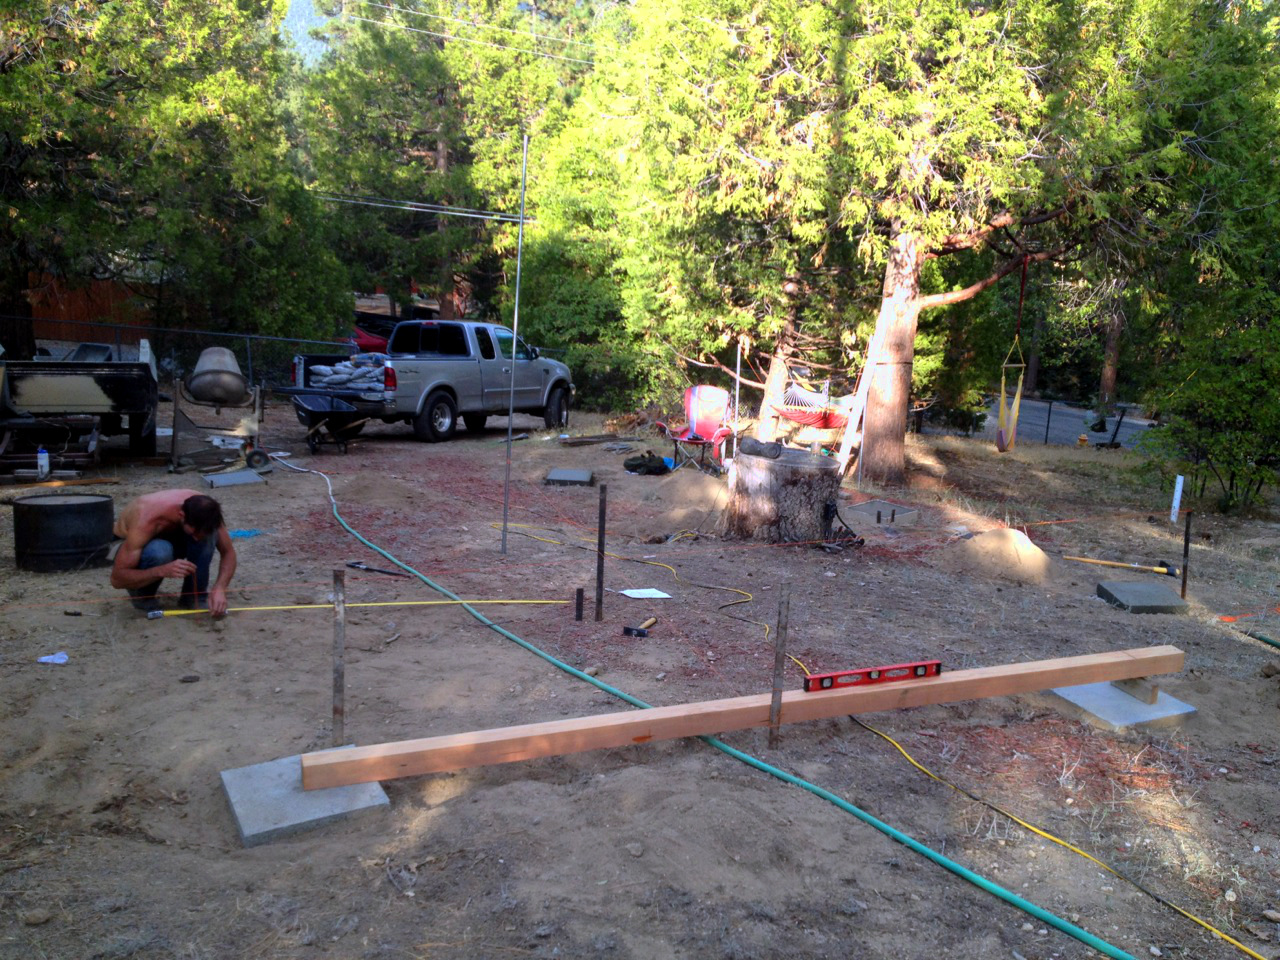
The first step was accurately measuring where the footings would go. This is no small task on a plot that was as sloped as this one and we spent three whole days just measuring. Then we began to dig and pour the concrete footings:
Once all the footings were completed we began construction, starting with the 4×4 posts and the 4×12 and 4×8 heavy framing:

Once the heavy framing was complete, we painted it to match the deck and then started on the 2×6 floor joists:
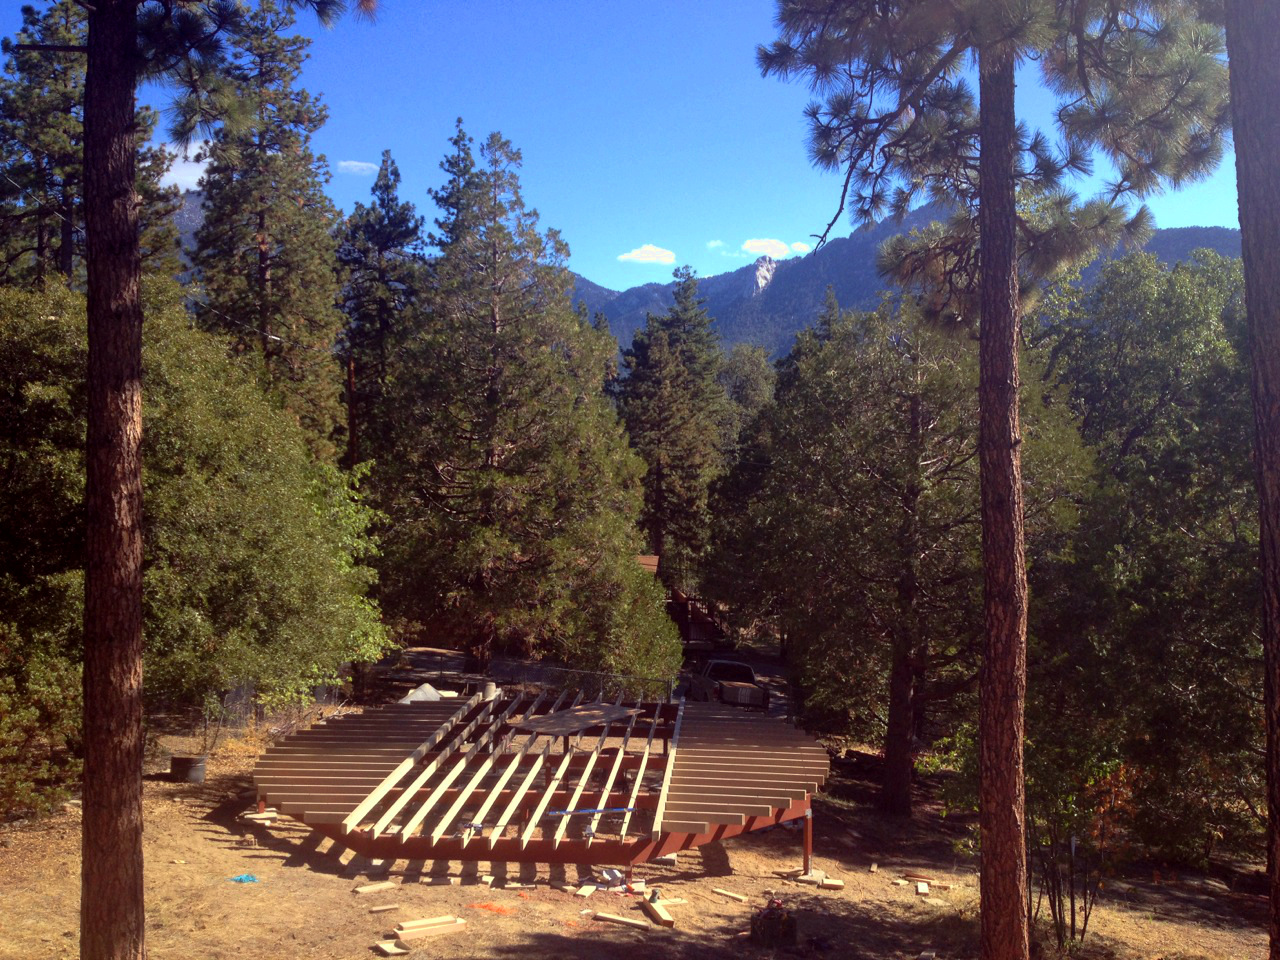
Everything was coming along surprisingly smoothly. After the joists were installed we added the plywood subfloor and the bender board around the outside perimeter:

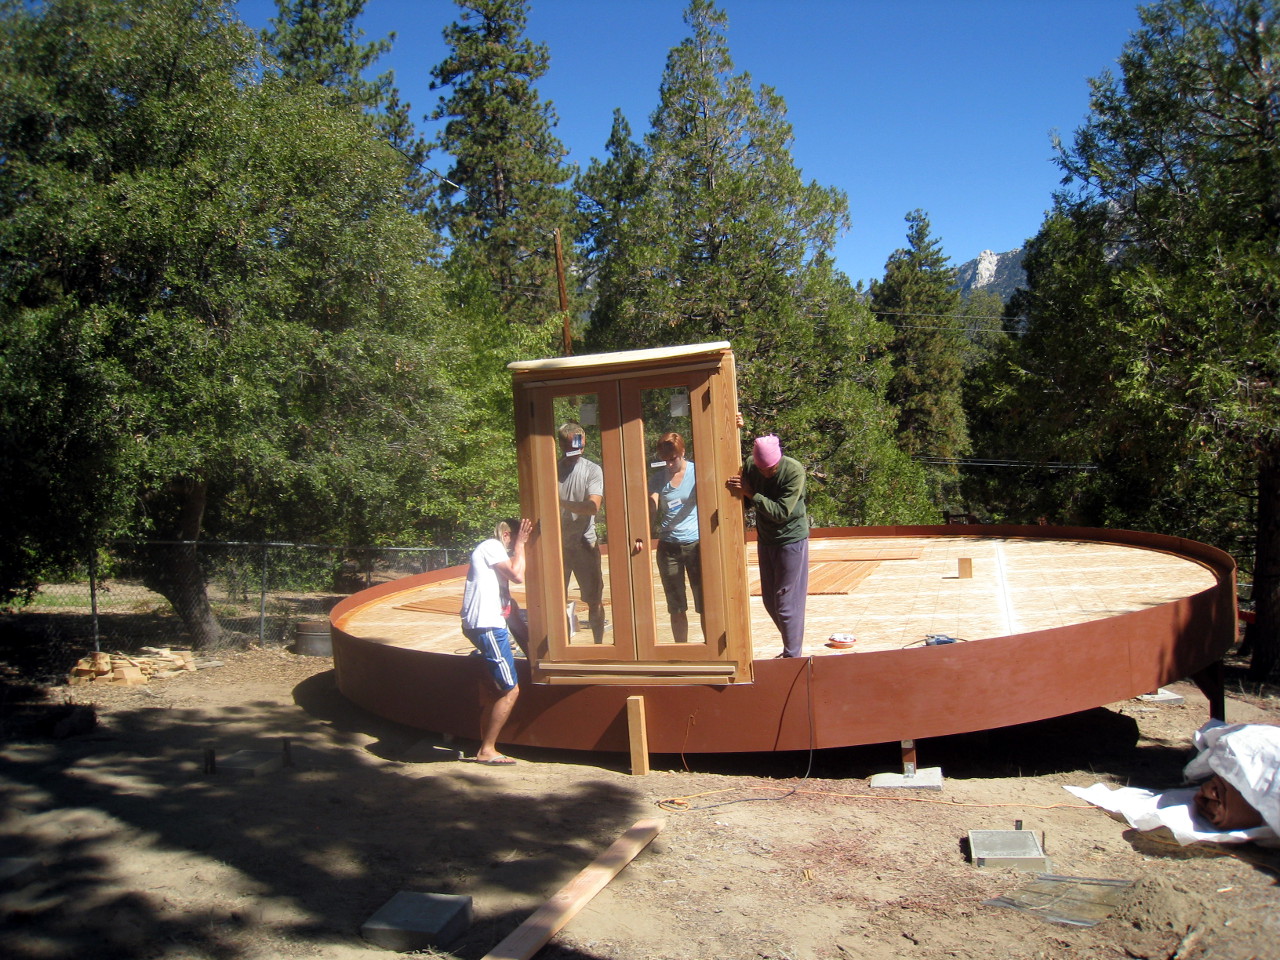
Now it was time to put the yurt kit up! We started with the solid french double doors in the front:
Once the doors were installed we put up the oak lattice and the stainless steel tension cable:
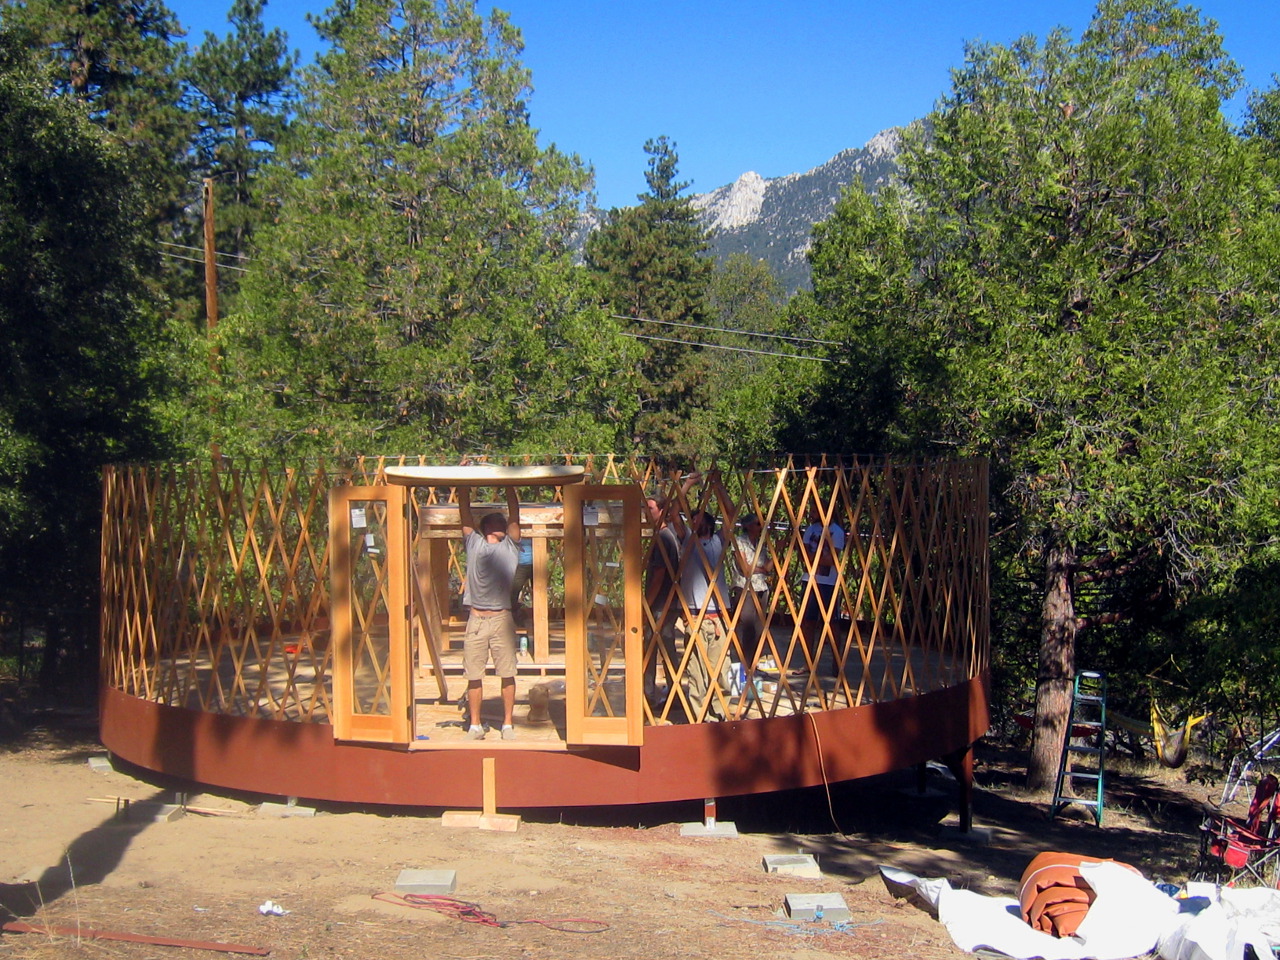
The most difficult part of the yurt construction was definitely putting up the compression ring at the top of the ceiling. We build a custom scaffold using the crates that the yurt was delivered in, and it was not that stable. So getting enough rafters plugged into this heavy ring of wood so that we didn’t have to hold it was quite a feat! Here it is once almost all of the rafters are installed:

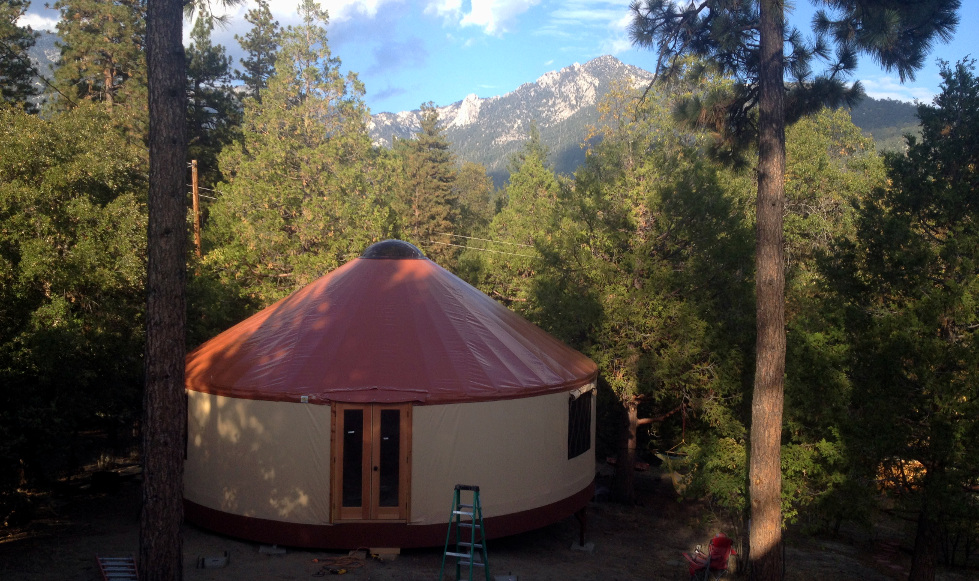
The last steps were putting the roof and wall vinyl on, which were also pretty difficult due to their weight:
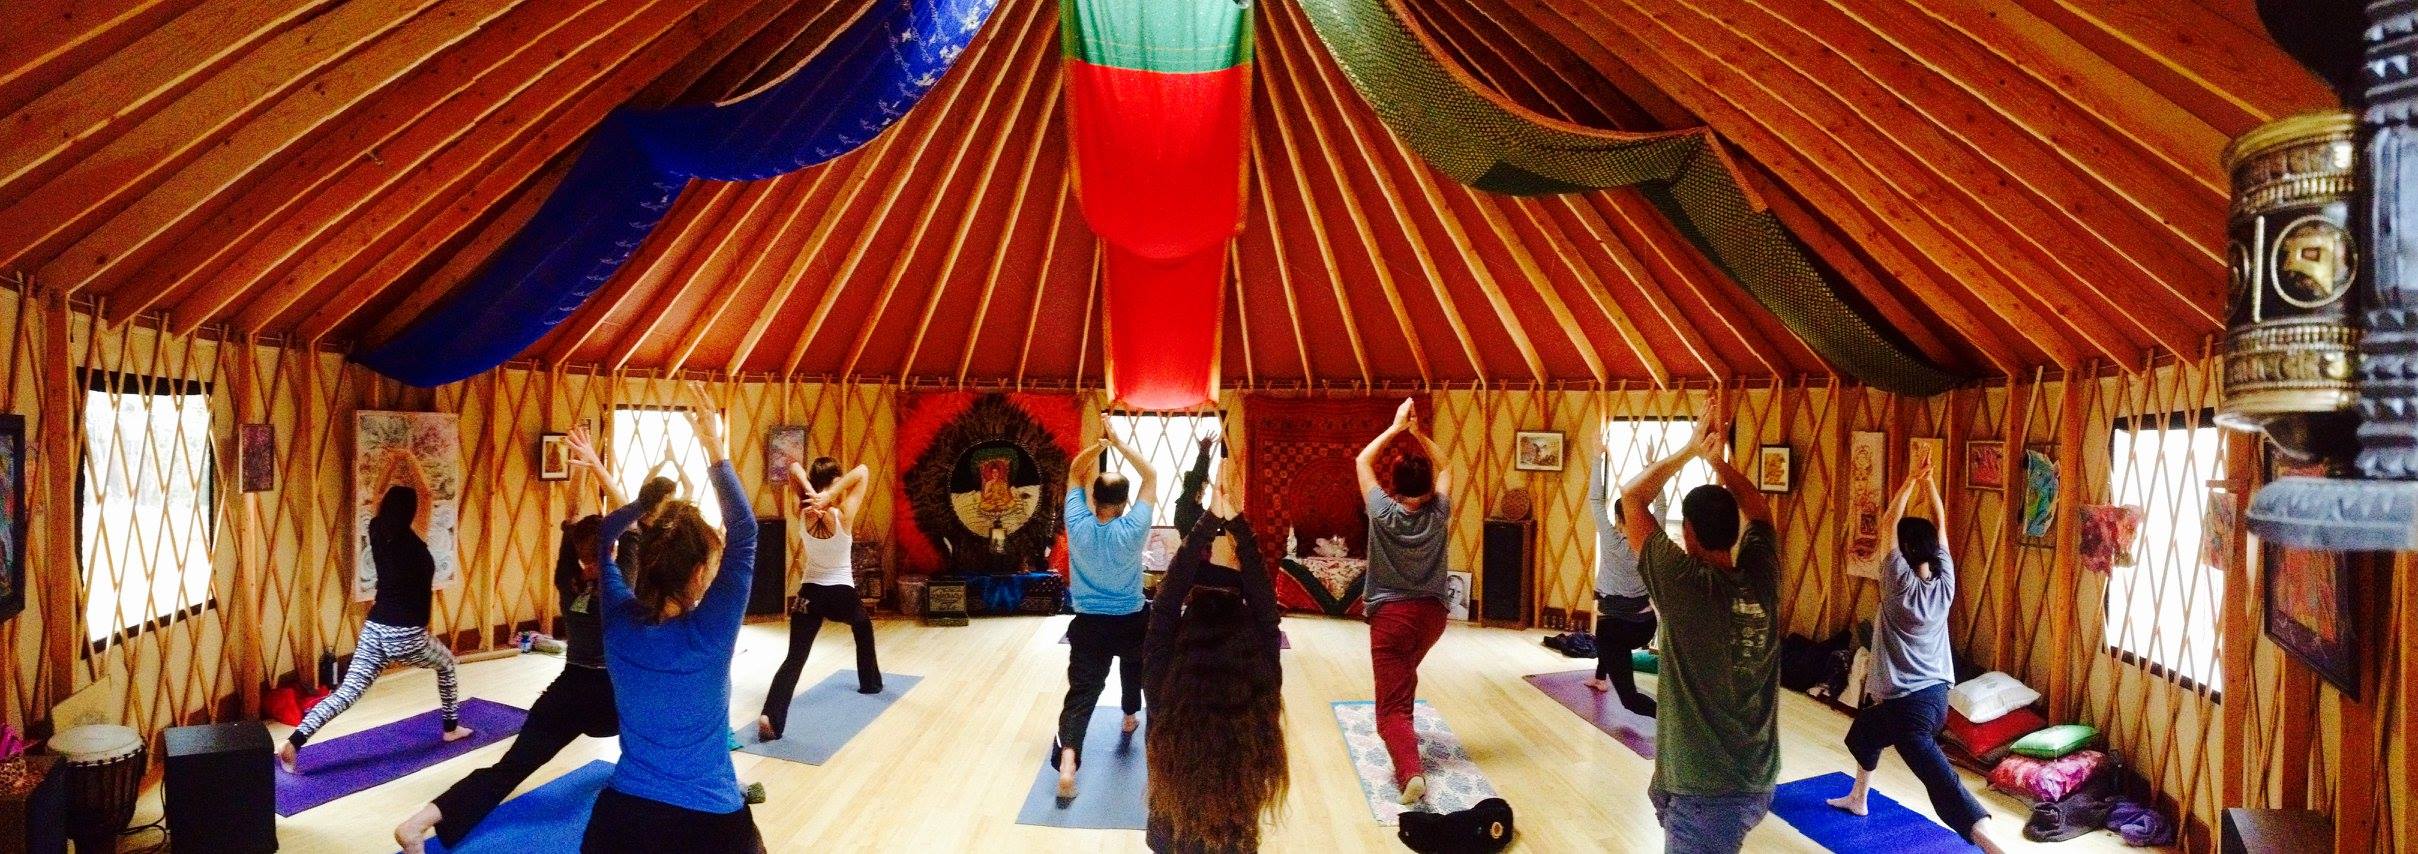
Then we put bamboo flooring inside and built a small deck on the front of the yurt. Here’s a photo of one of the first yoga classes, after our grand opening: