
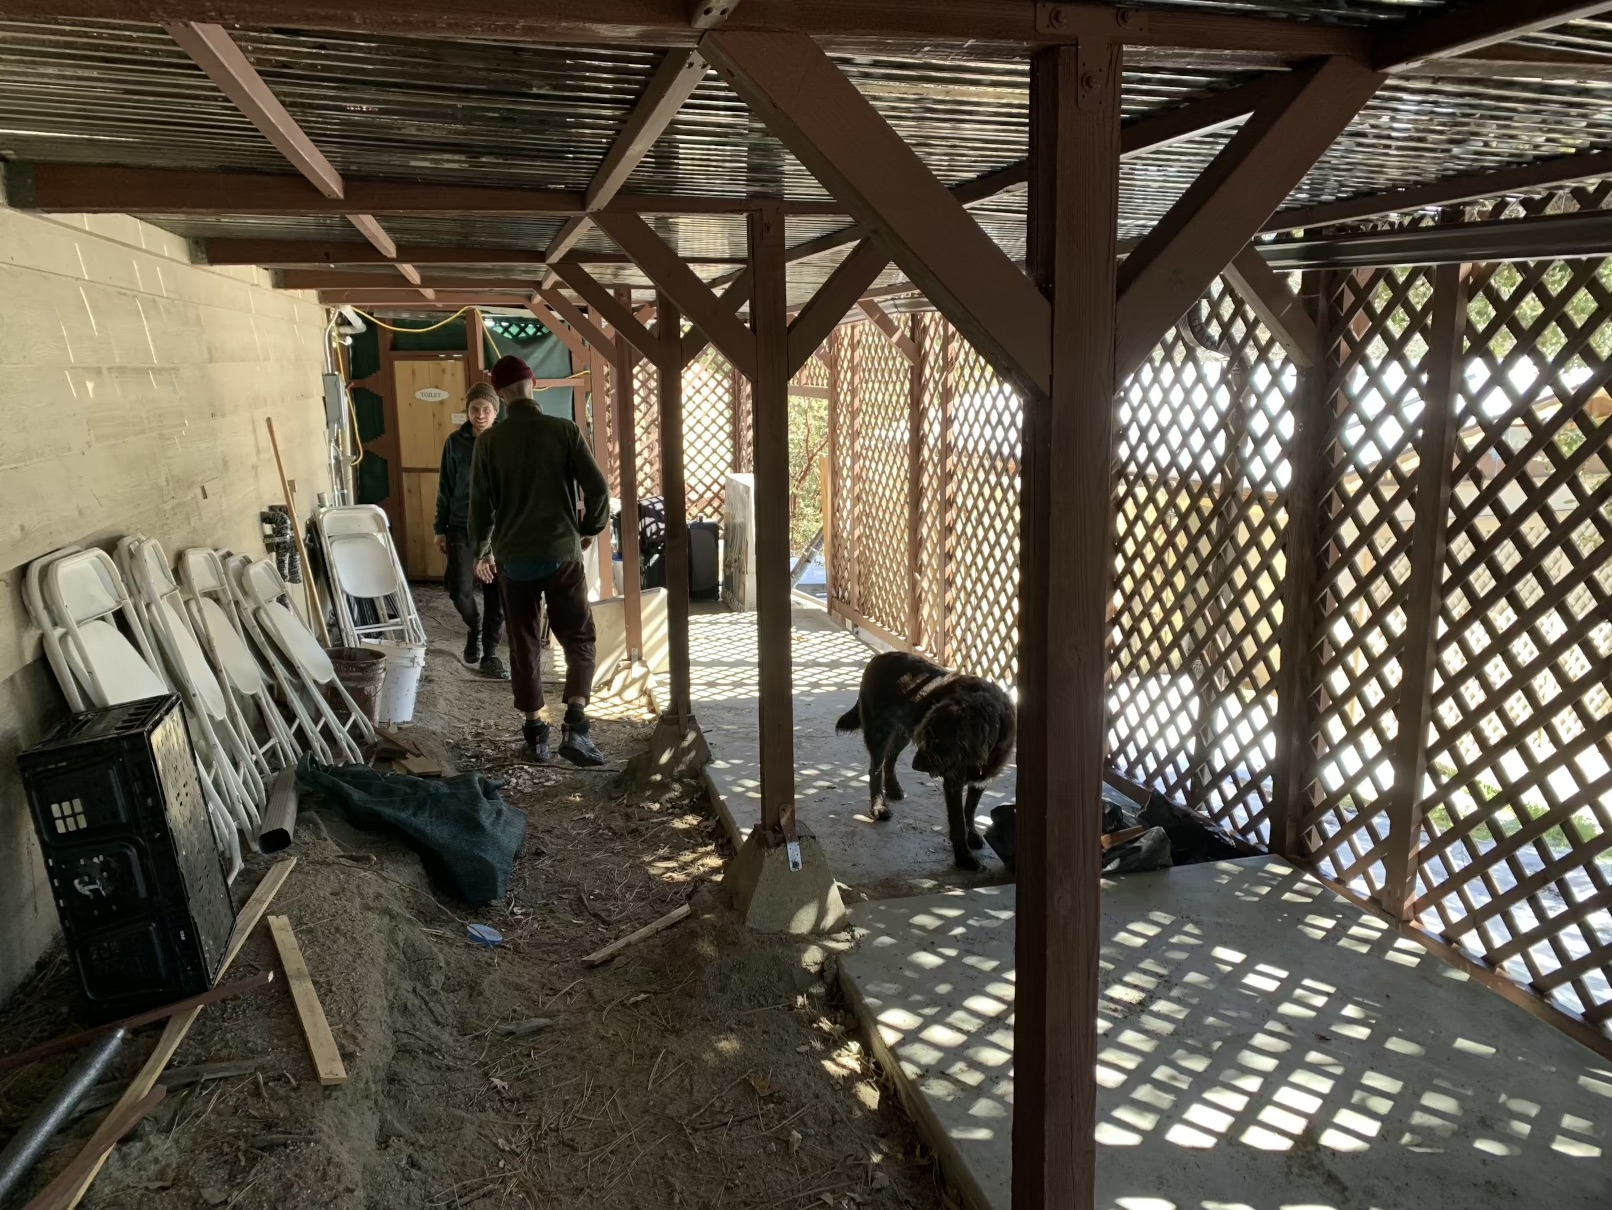
The two most major projects that were planned for 2021 were the Dorms and the new Cabin. The first step in creating the dorms area was to create a proper hallway and shelving along the house to enclose the space nicely and remove any visibility of dirt or siding. We started this project in March while the weather was still quite cold. We hosted two workawayers who helped with this project, Cem from Turkey and Shym from the US. Here’s a look at the space before we started. Notice the polycarbonate ceiling keeping the space dry, and the concrete slab on the right which would become the floor of the dorm rooms themselves:
The first steps we took were to measure the cinder block footings underneath the hallway floor and then build the framing for the long wide shelf and the wall itself. All of this can be seen in this photo:

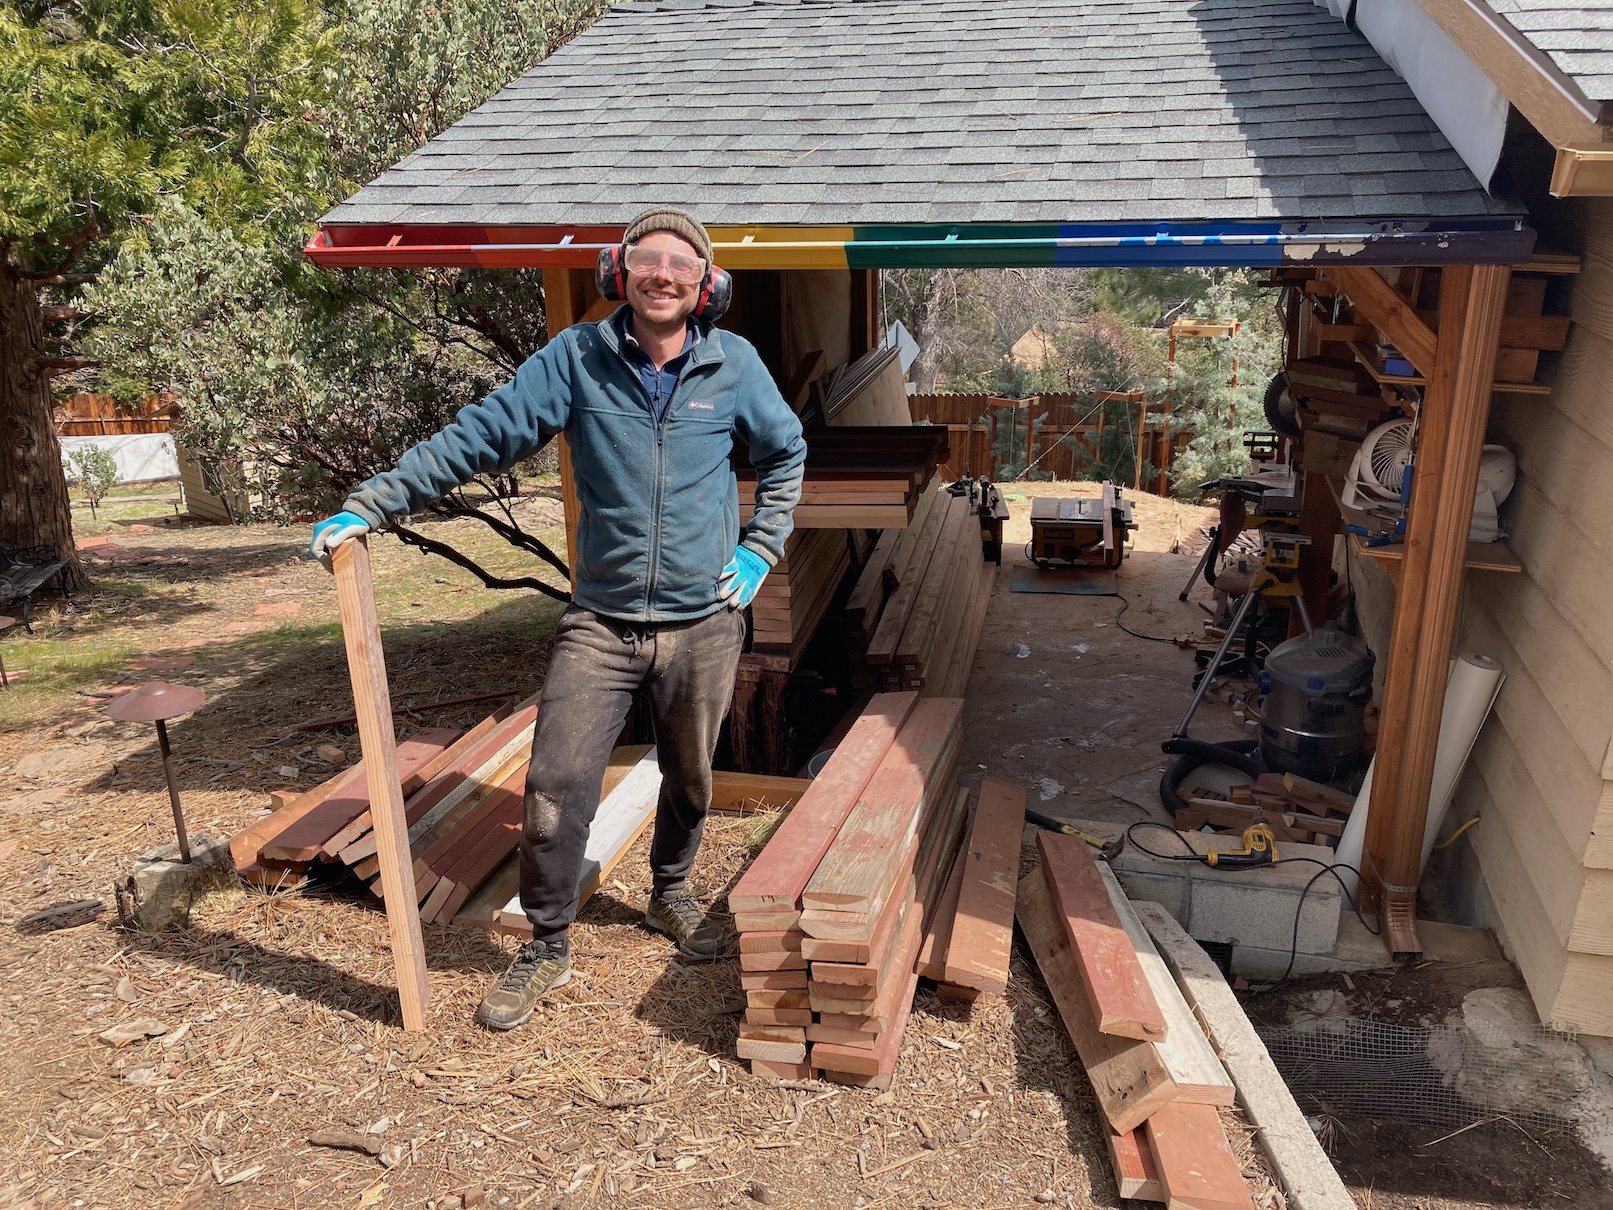
While Shym and I worked on the framing and wall plywood, Cem began refinishing the boards left over from last year’s deck renovations to be used in the hallway floor. This required him to do a lot of work in the outdoor workshop with the table saw and planer:
Here is Shym sanding framing boards:
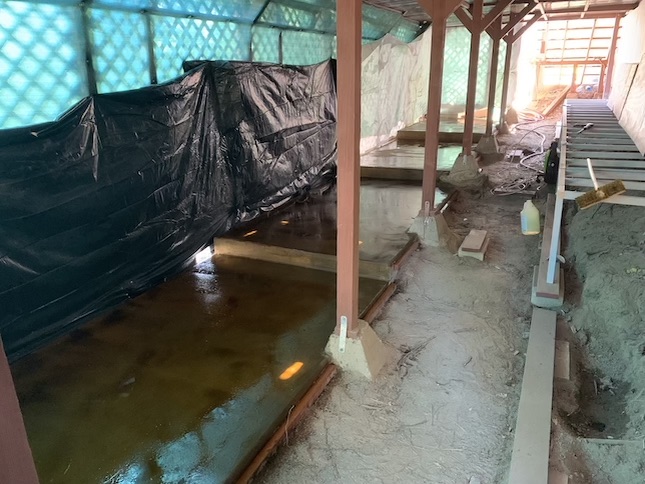
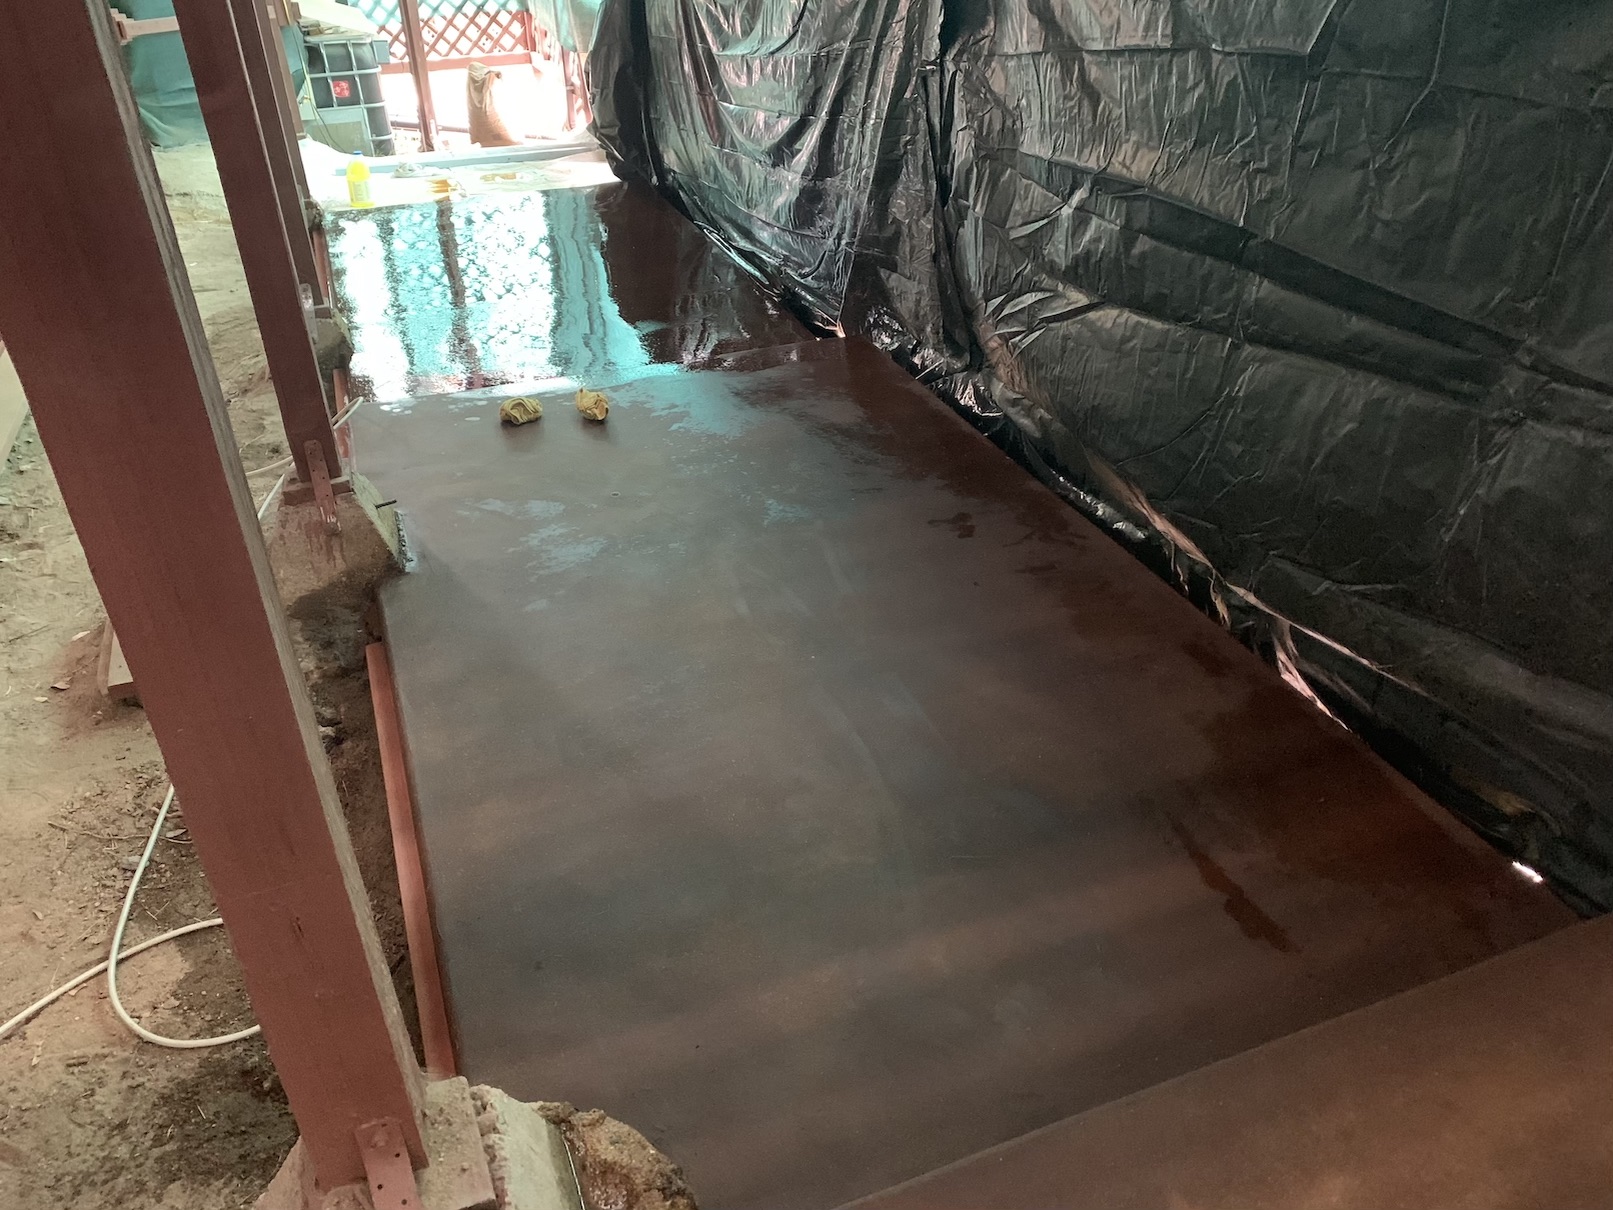
Before building the floor itself Colin set to work on staining the concrete slab to make a nice floor for the eventual dorm rooms. The staining process was actually very difficult but turned out wonderfully. Here’s a photo in the middle of the staining process:
Here’s a look at a slab after staining once it dried:
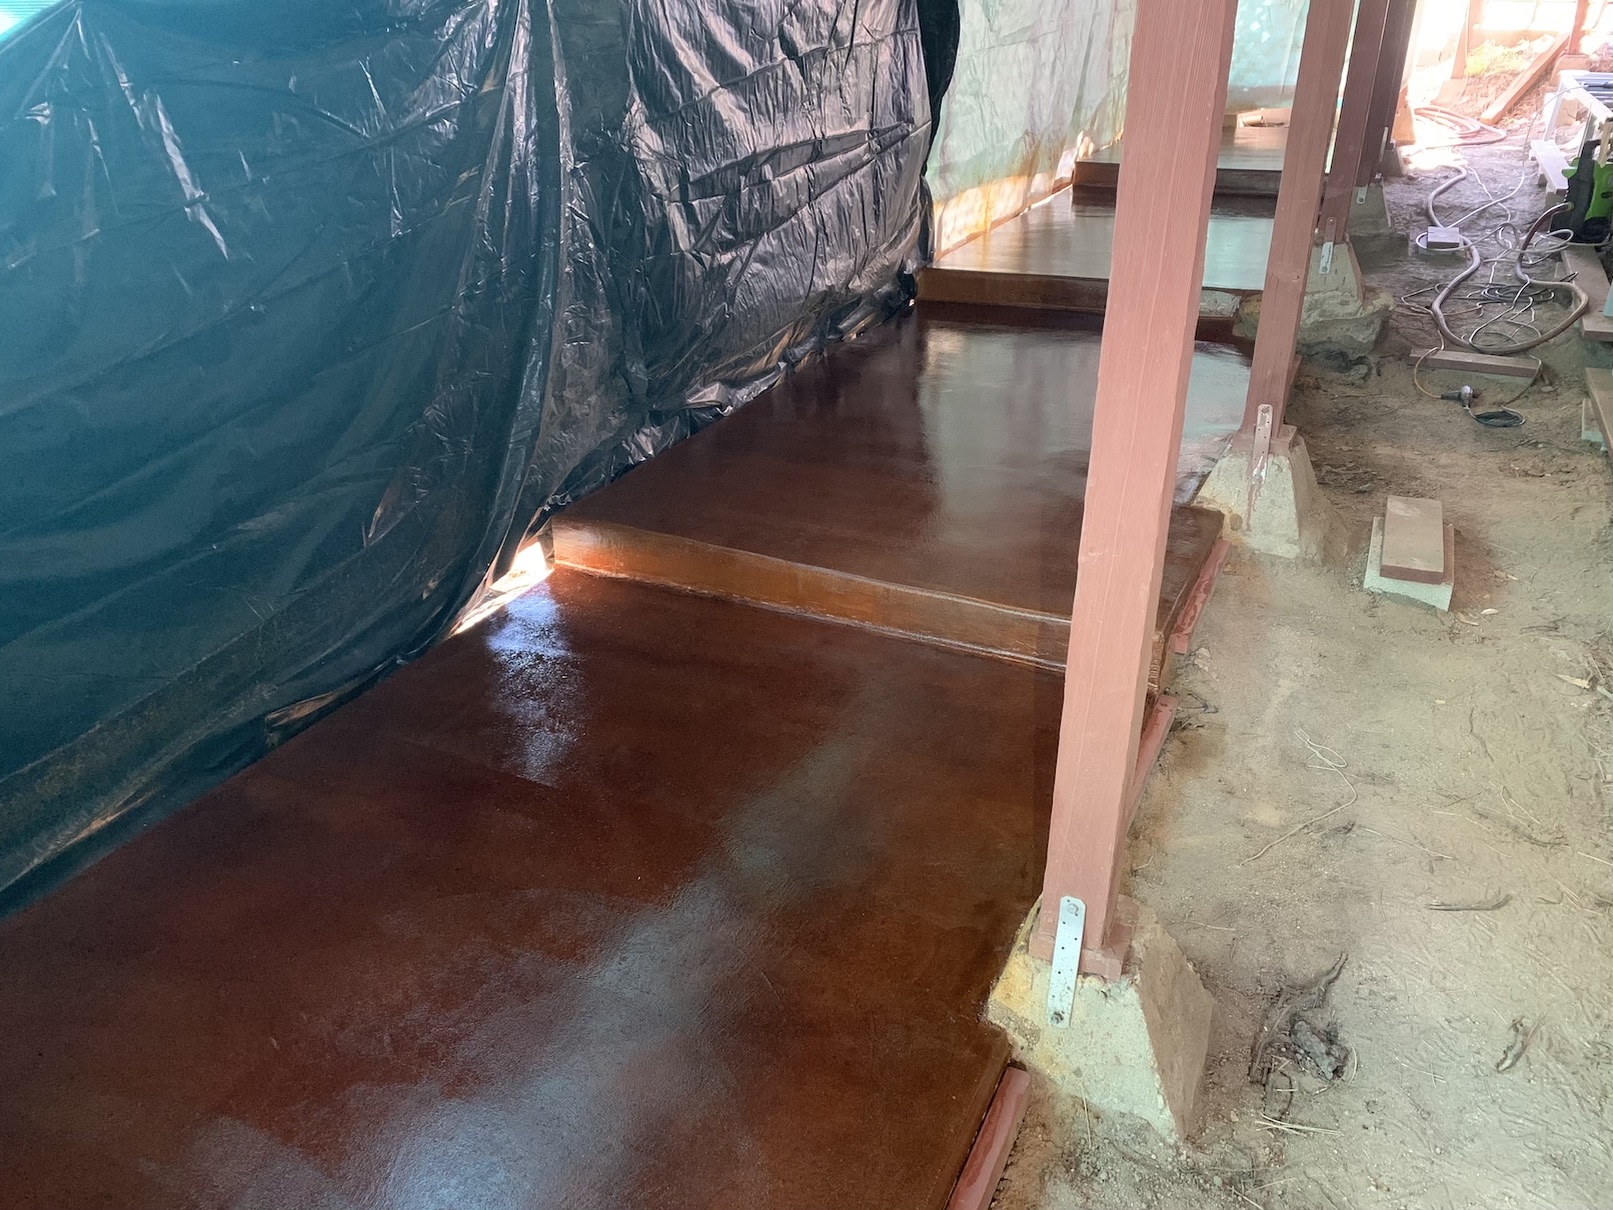
The color came out beautifully and all that was needed next was a nice glossy clear top-coat. Here’s a look after the gloss coat was applied:
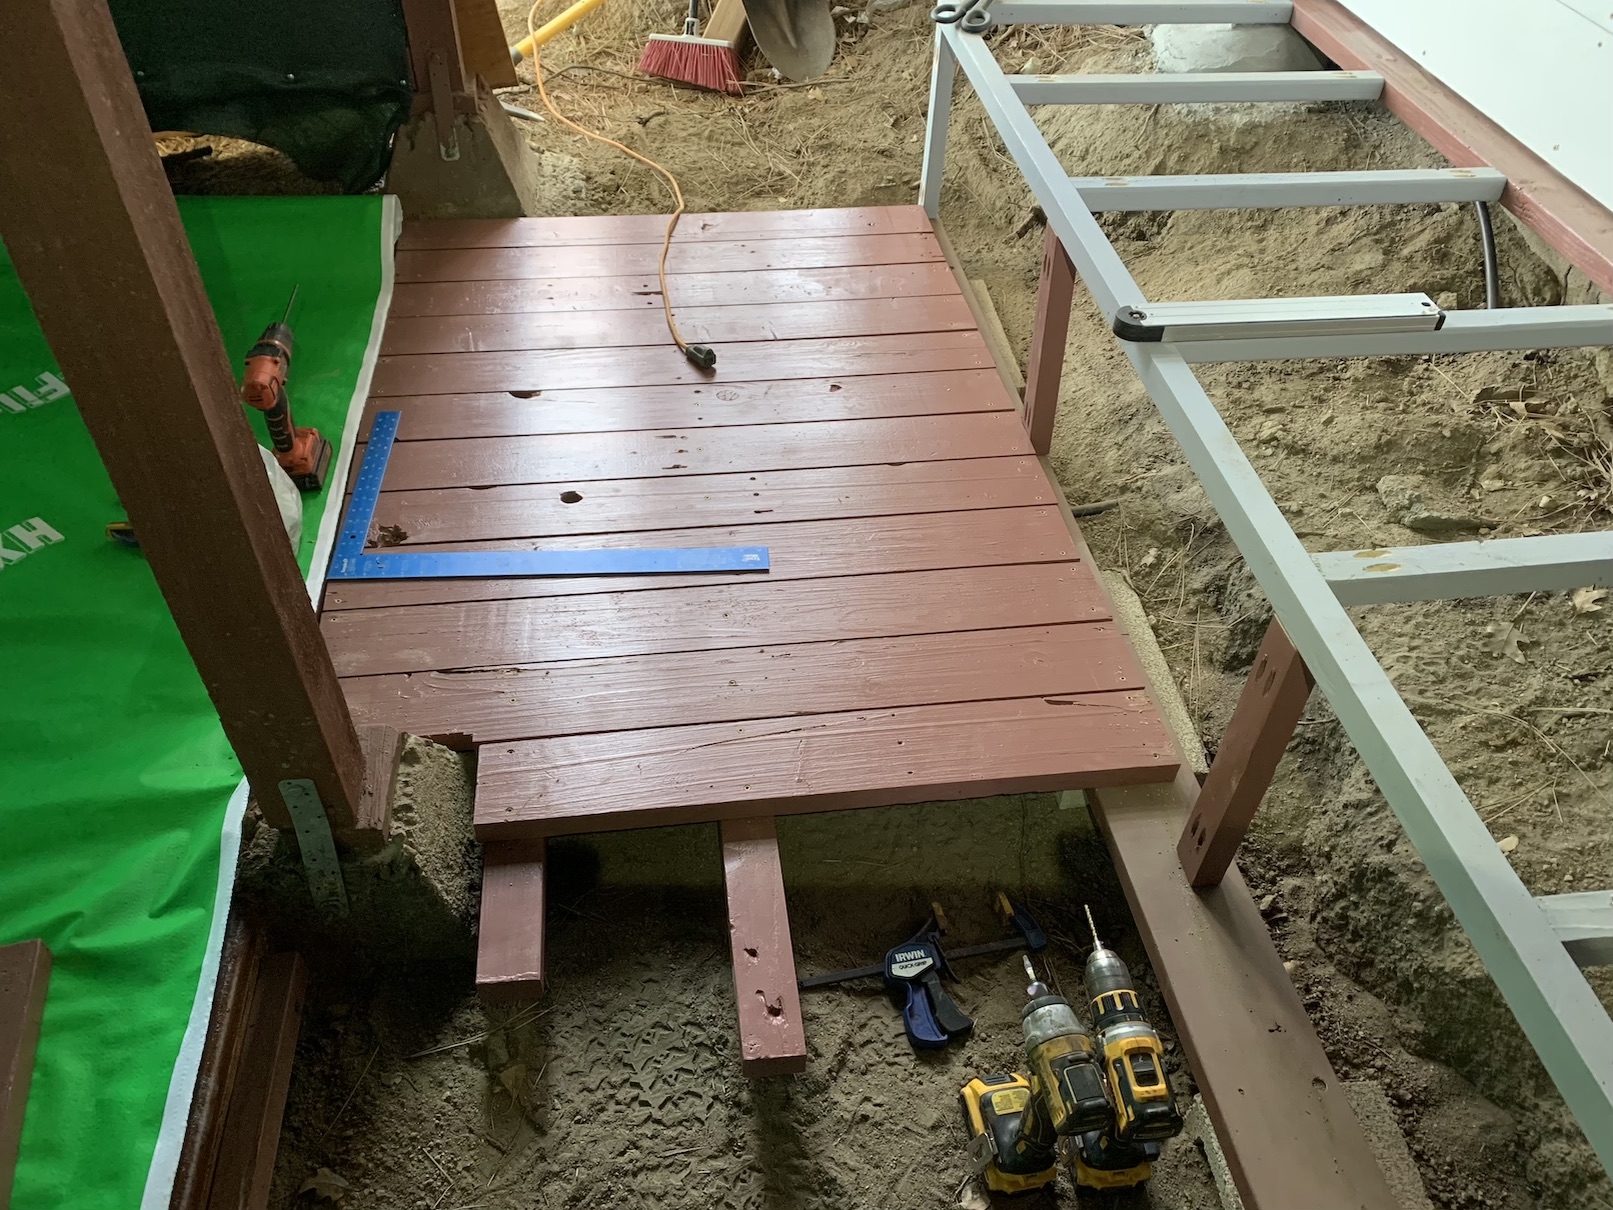
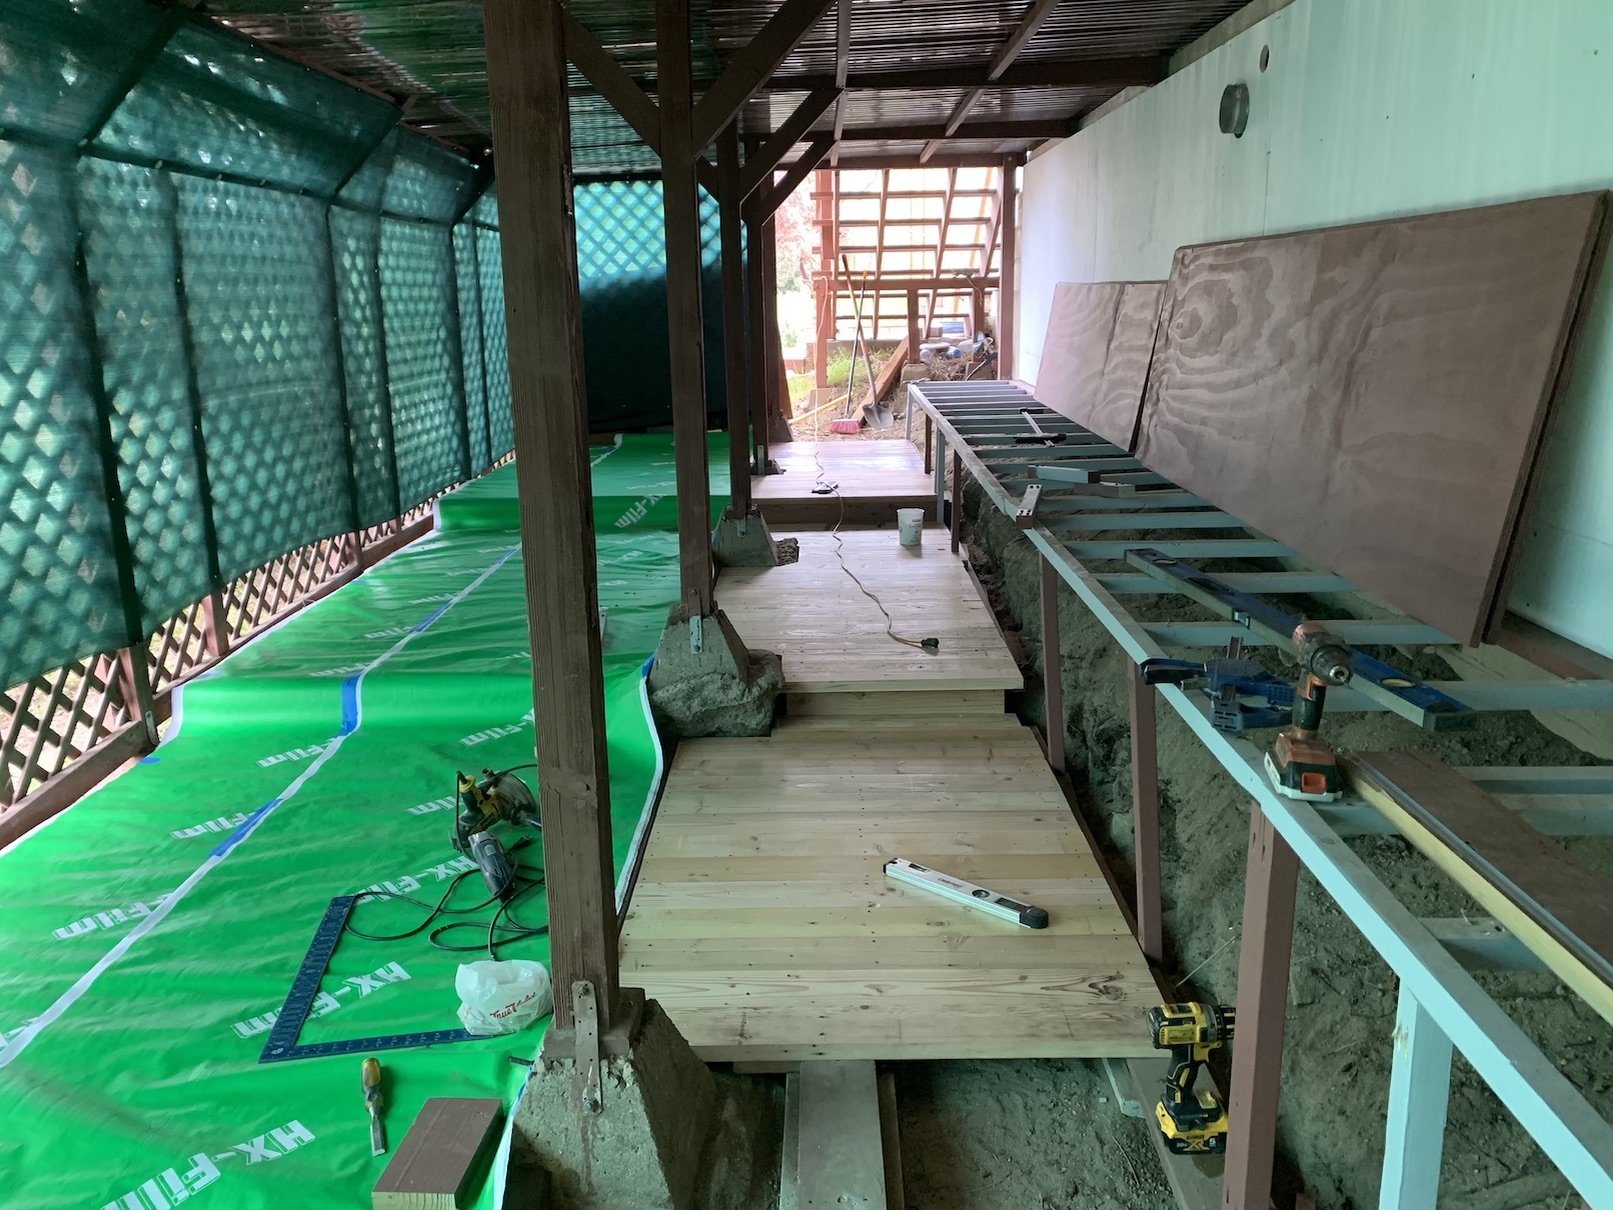
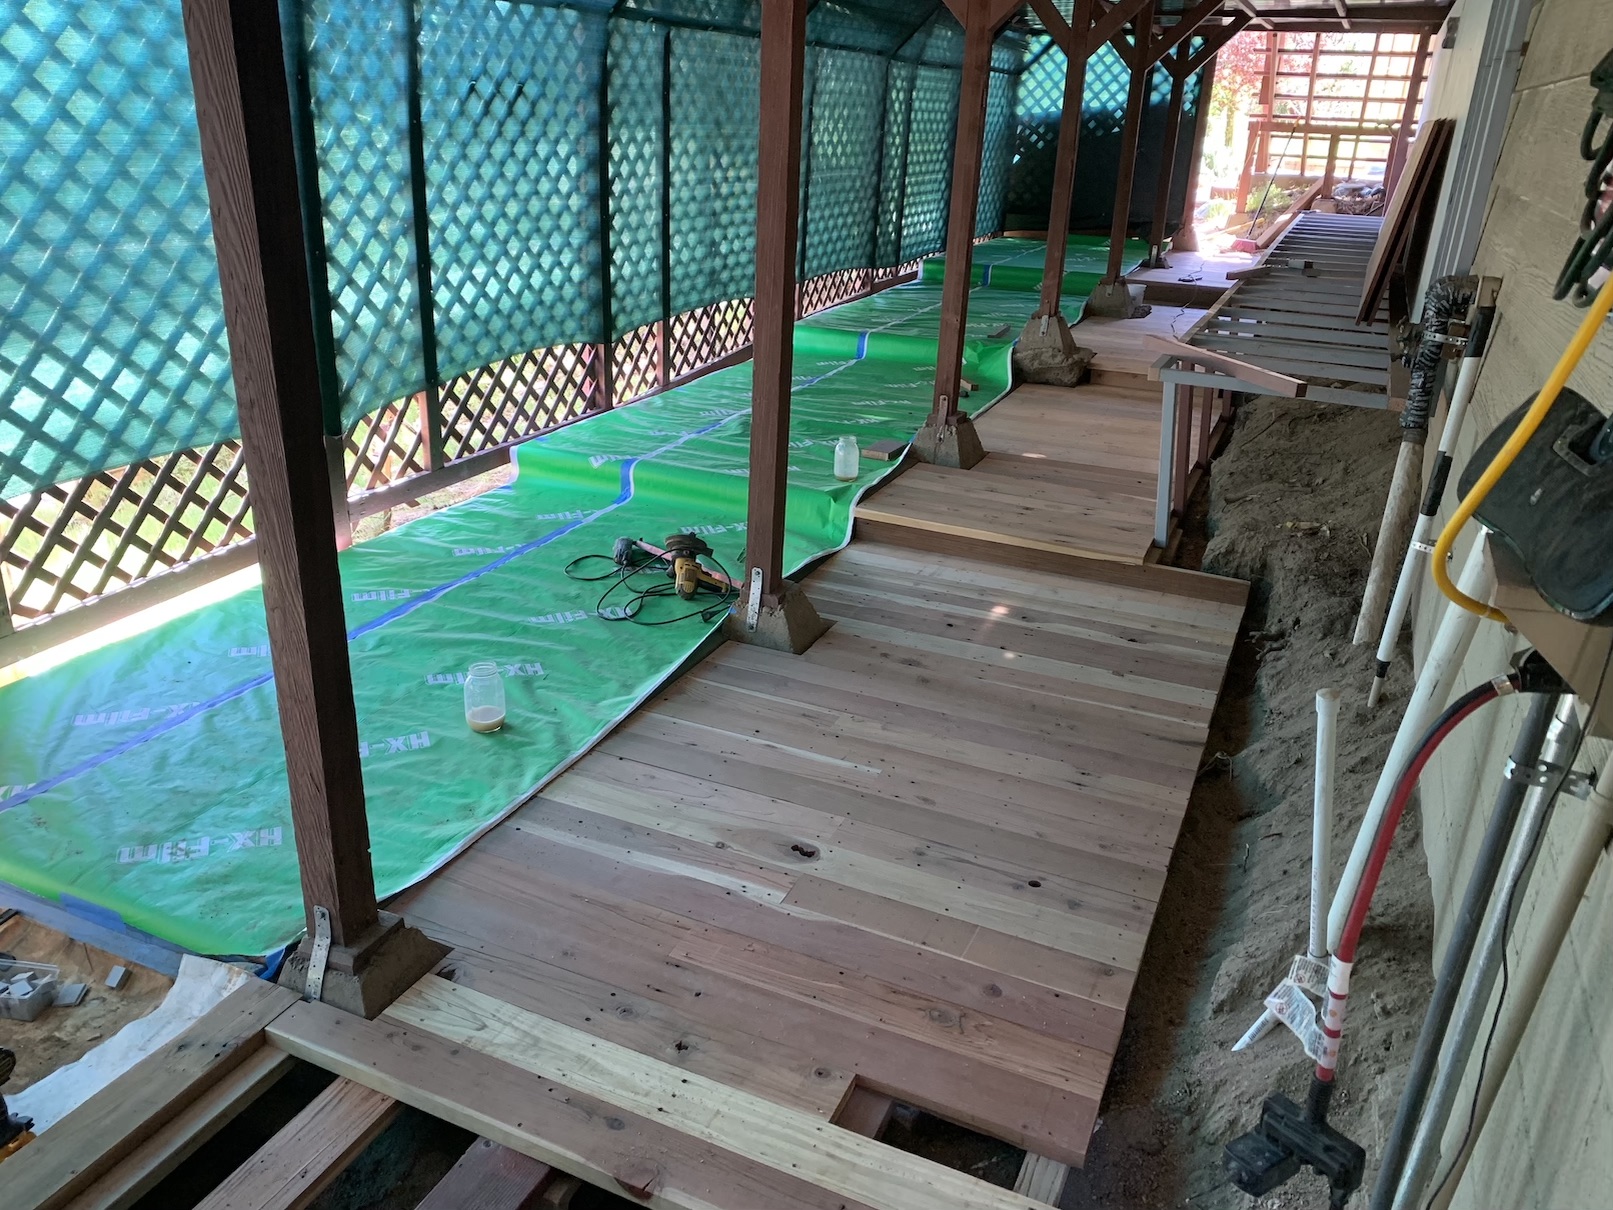
Once the staining was completed and the concrete fully dried we put a green protection layer down to prevent any damage to the surface while we continued to construct the dorms area. The next step was creating the hallway floor. The first part of the hallway floor, at the entryway near the front door of the house, would be painted wood since this area would be where people would take off their shoes:
After the painted wood section, the next stretch of flooring was reclaimed douglas fir from the deck renovations:
Lastly we used redwood for the final section of the hallway floor:
After finishing installing the planks, the next step was to sand them, fill in any holes with wood filler, and finally to apply a layer of tung oil to bring out the color. Here’s a look at the redwood section of the flooring once these steps were completed:

As you can see, the redwood flooring especially looked beautiful. The final step was to apply two coats of clear polyurethane to the flooring to protect it from staining and scratches from foot traffic and to give it a nice gloss coat. Once the gloss was applied the floor looked absolutely stunning. It doesn’t come out so well in this photo but here it is from the douglas fir side:

Recent Comments